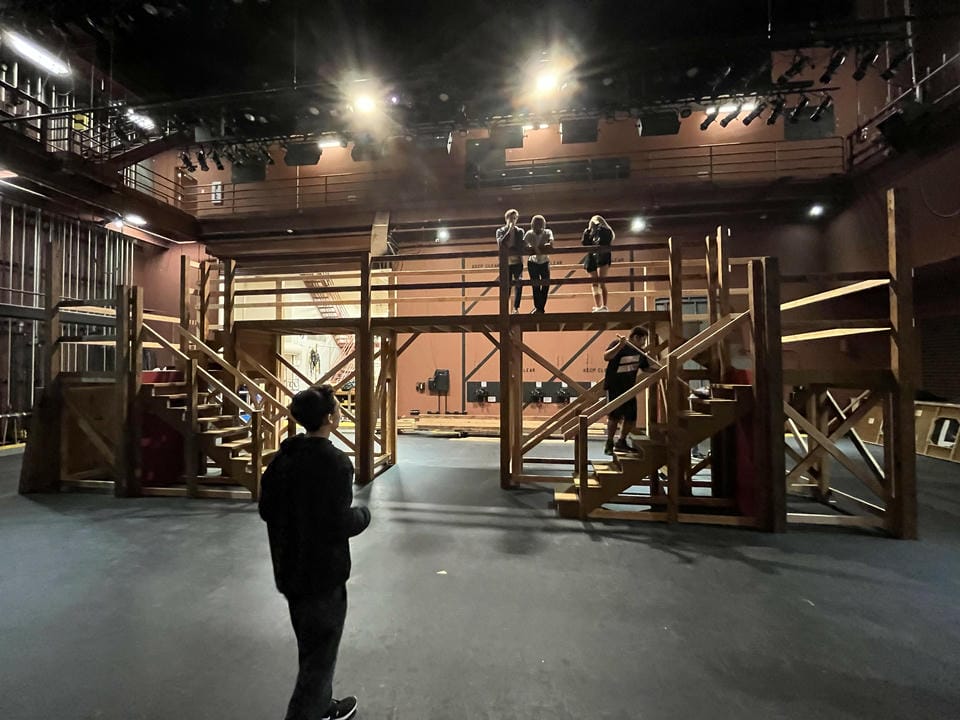
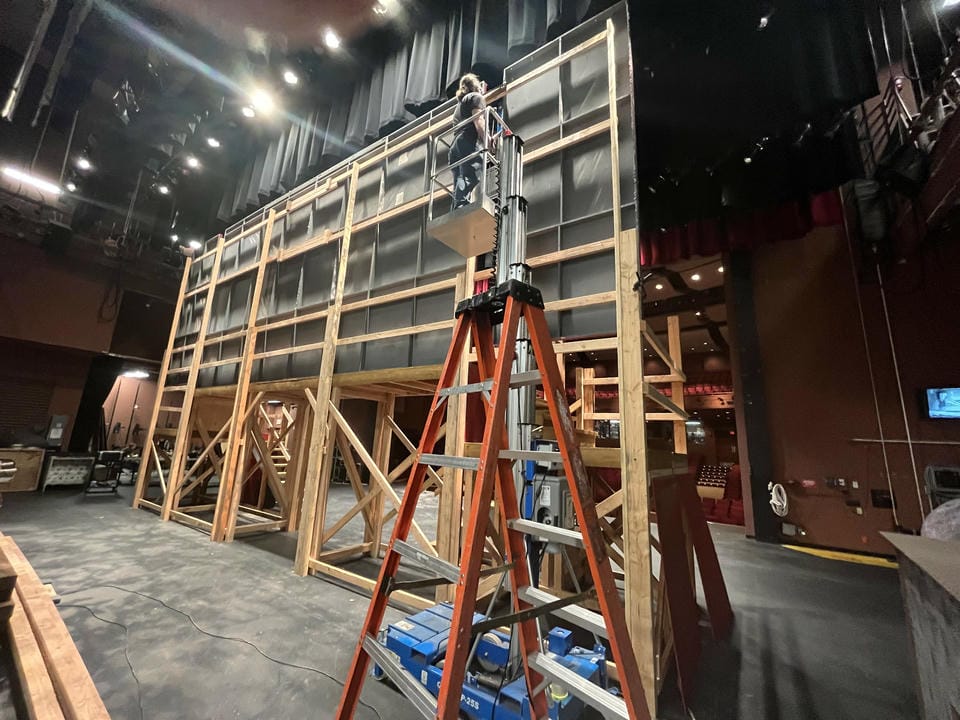
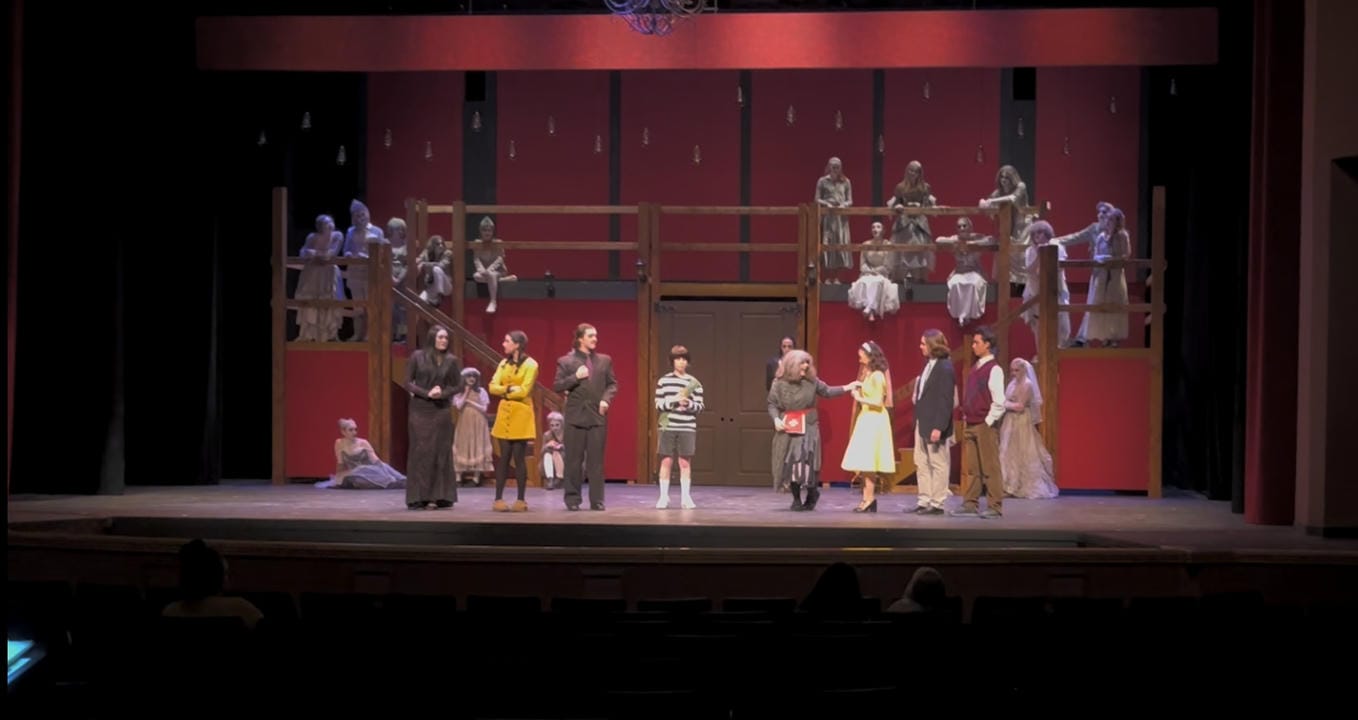
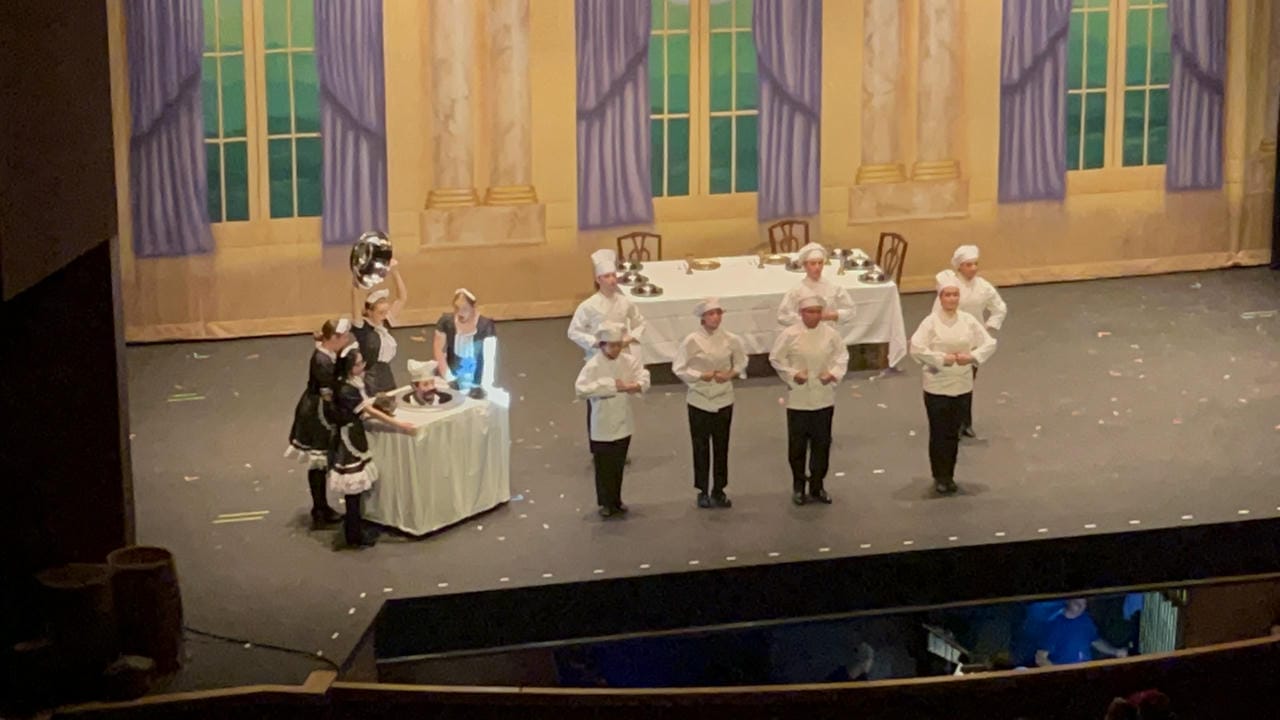
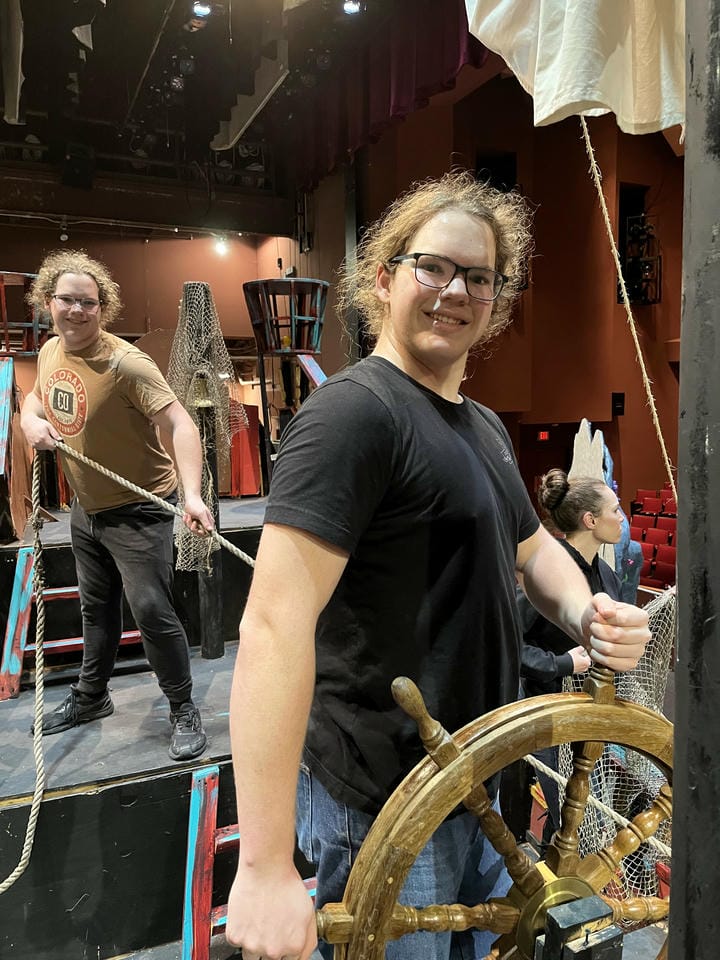
Although the production hired an external set designer, I played a major role in constructing key elements of the set, including the second-floor balcony, staircases, wagons, and flying flats.
At the back of the stage is a large, static foyer area used for many scenes. I framed the second-floor balcony using 2x4 lumber and installed 4x8 flats to form the back wall. I also installed railings and staircases, and assisted with many other construction tasks.
Multiple scenes required smaller wagons to be brought on stage to isolate smaller rooms, like Morticia's grotto. I fastened multiple 4x8 wagons together to create a larger platform, then assisted with the design and construction of supports to hold up a wall on the back side. Because of the tall nature of the wall, diagonal braces were required to prevent it from tipping over. This became a challenge when floor space needs to be maximized on the wagon, but a diagonal brace in the front negatively impacts the aesthetics of the room.
I resolved this by incorporating the diagonal braces into the room's visual design, disguising them as part of the set architecture.
Because of the limited floor space available in the theater, a few flats were flown in from overhead.
I installed appropriate mounting hardware on the back side of flats and fences for the graveyard scenes, and secured cables to the fly battens.
This project strengthened my construction skills and taught me how to balance structural needs with aesthetic constraints in a live theater environment. The production presented some organizational challenges, as the set designer's plans and instructions often changed or lacked clear communication. This required me to take initiative, clarify details independently, and coordinate closely with other crew members to keep construction on schedule. Although the process was sometimes difficult, it ultimately strengthened my communication skills and my ability to work productively in less structured environments.
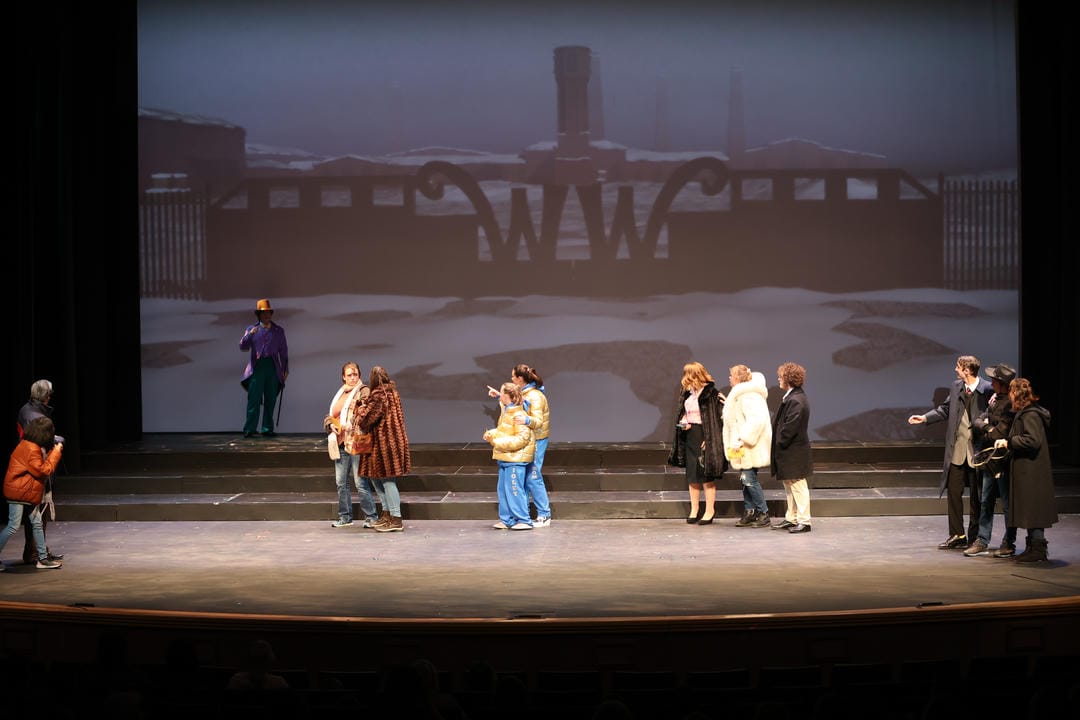
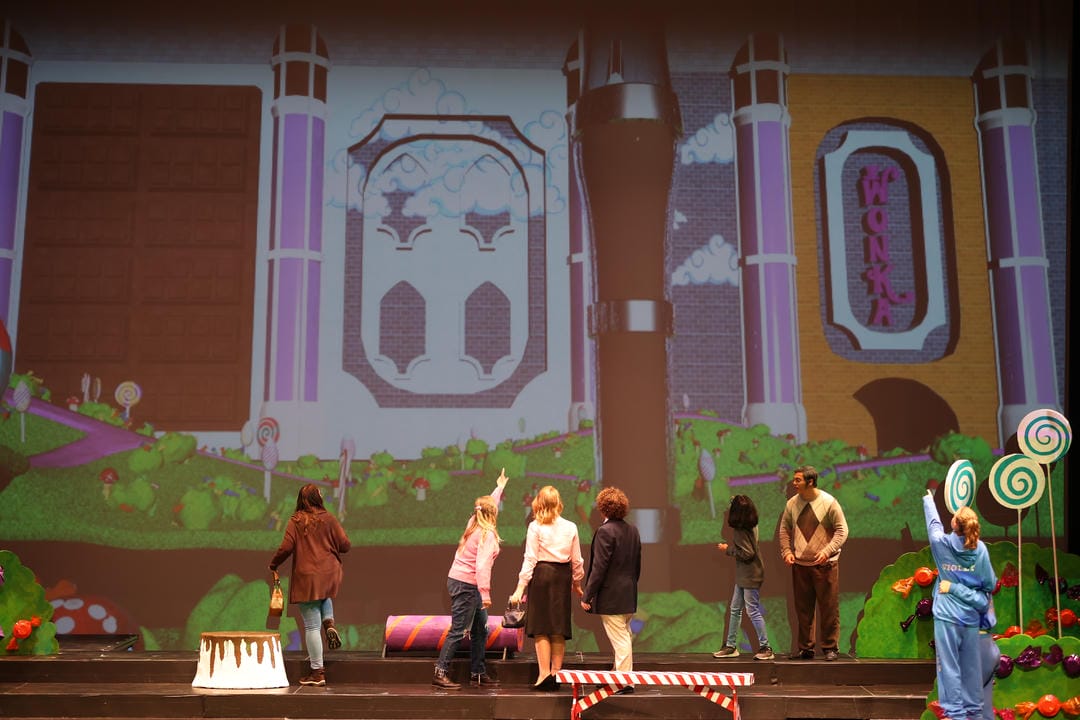
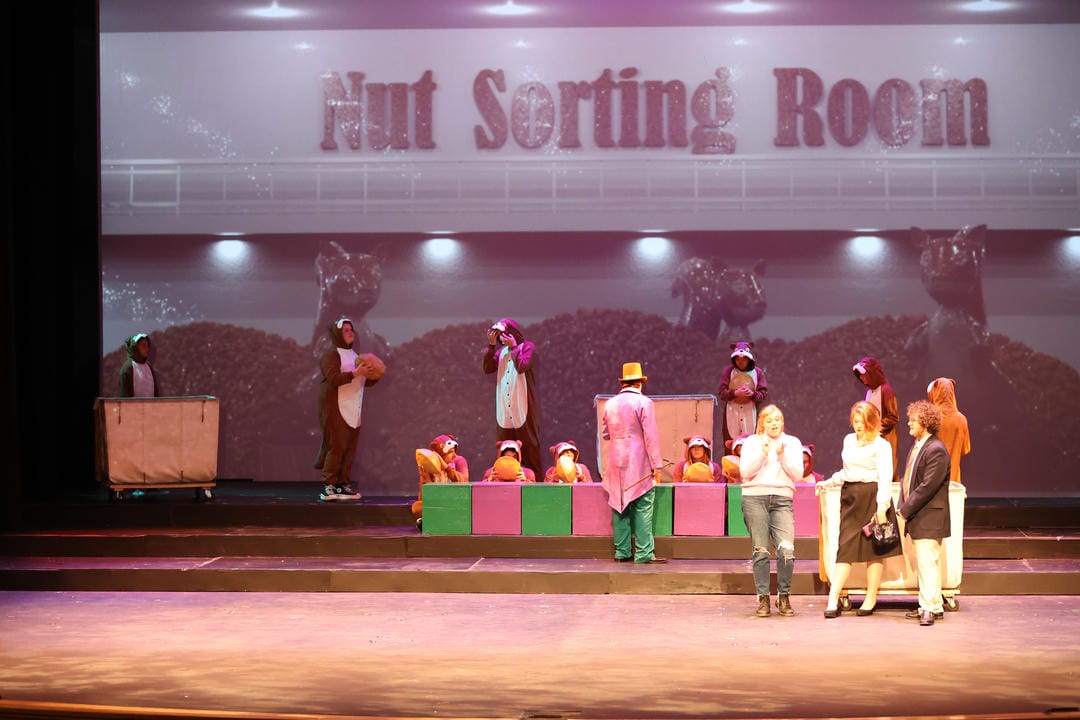
The show required large virtual set extensions to immerse the audience in the magical world of Charlie and the Chocolate Factory.
As a relatively new 3d animator, I used this opportunity to teach myself more about 3d animation and rendering, and I learned a lot along the way. As a solo developer also tasked with set design and stage management for this show, I had to carefully budget my time to get all the materials ready for the show's opening. I spent nearly all of my free time outside of school and theater developing the video projections in 3ds Max and using the scanline renderer for all exports. I used procedural modeling to create organic bushes and lollipops scattered in the chocolate room, character modeling to create giant squirrel statues in the nut room, and explored architectural modeling to create a victorian-style factory exterior where the characters first arrive at the factory.
Because of the immense scale of the project, I started development of the 3d scenes in April, long before we opened in October.
I received many compliments for my projections from audience members, cast and crew, and the director, and the animation of Augustus being sucked up the chocolate tube became a highlight of the show. Although they were well-received, the renderings were plagued with a difficult to track rendering artifact: every surface technically has a mirror finish. This is due to my misunderstanding of the scanline renderer's limitations: It does not consider specular roughness (how diffuse the reflection is) only a non-physical reflection multiplier. Along with my configuration of the materials and textures in the scenes, this meant that all reflections were perfect mirror finishes, rather than the diffuse reflections we see in the real world. This I think detracts from the aesthetic quality of most of the projections, which is unfortunate as I only discovered the cause of the issue days after the show closed.
Overall, the projections added significant value to the production and served as a valuable learning experience for me.
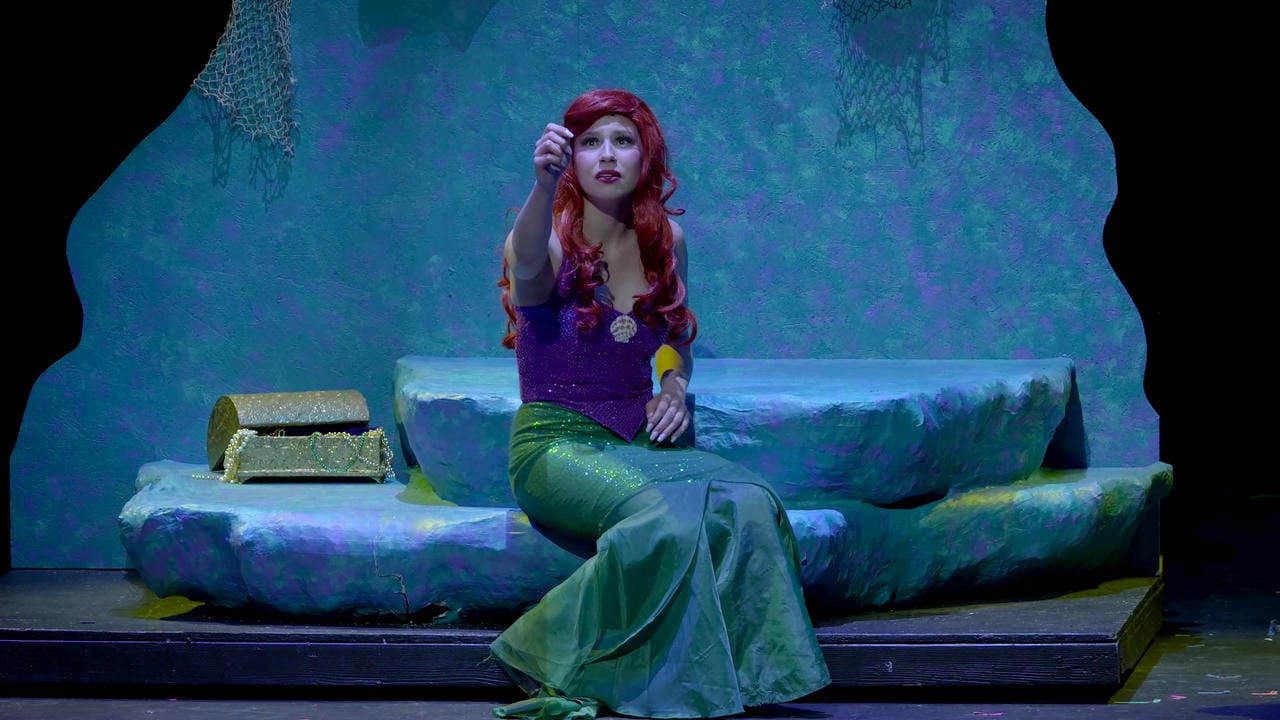
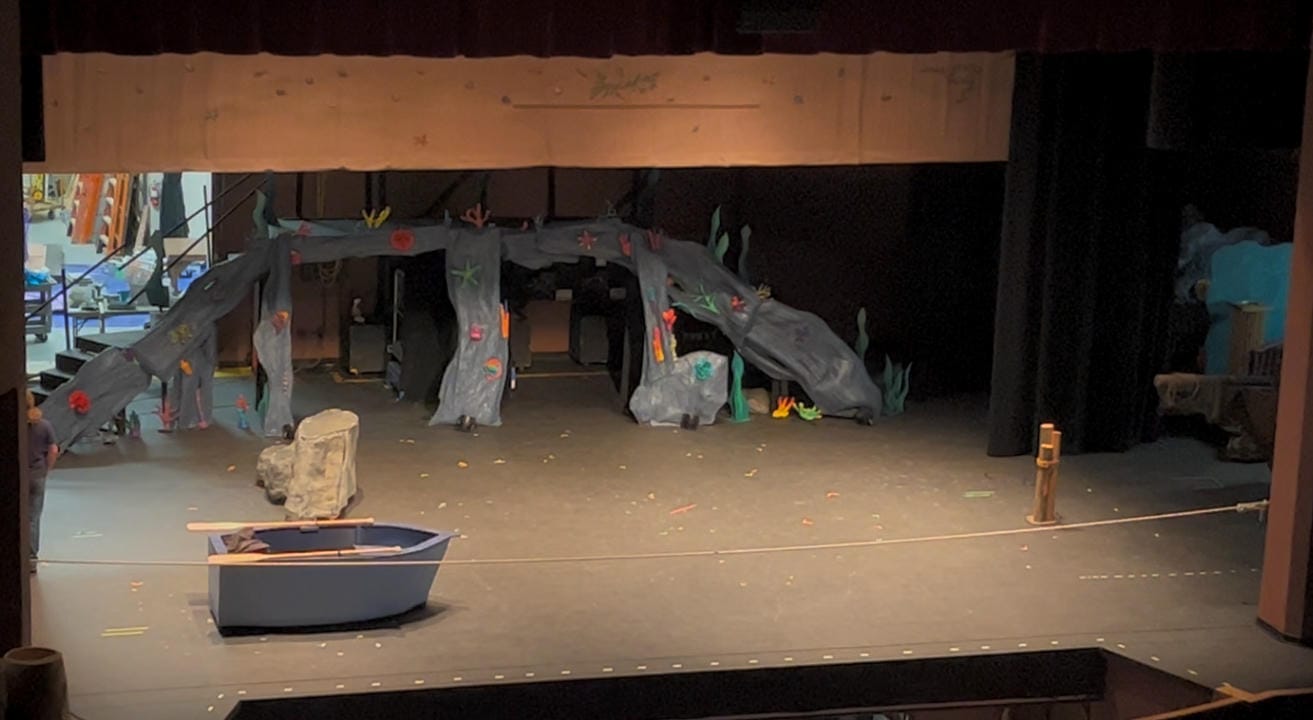
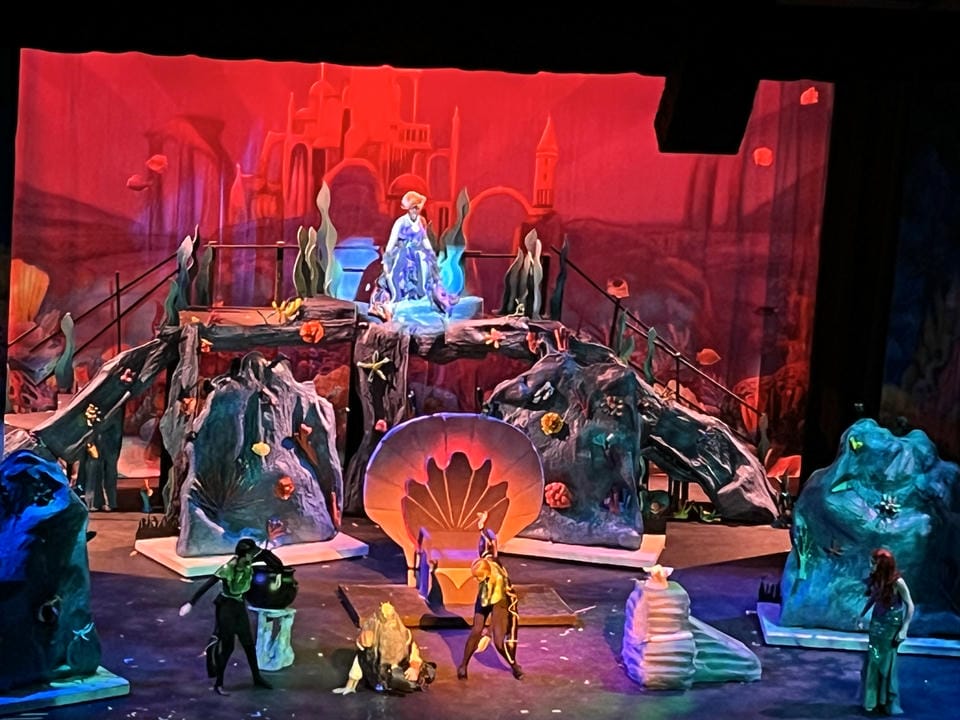
Ariel's grotto required a load-bearing, two-tier rock structure that could safely support actors while matching the underwater aesthetic.
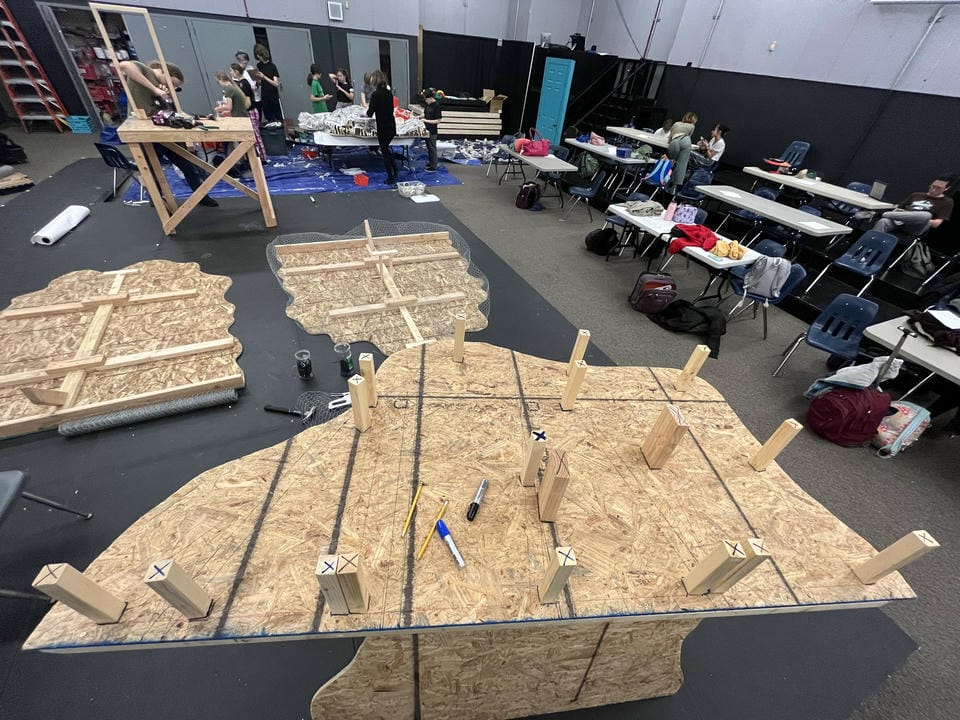
To create the top surfaces of the rock shelves, I utilized 1/2" rough plywood, cut into a smooth, weathered profile to match the underwater aesthetic and supported on the bottom by a 2x2 wood frame. This provided a rigid surface for the actors to sit or stand, while having a minimal weight, cost, and construction complexity. The two shelves were supported on the bottom by 8" vertical 2x2 and 2x4 blocks, carefully positioned so loads from the upper platform transferred directly into supports below, minimizing bending in the plywood.
To accommodate the assembly of the structure and avoid compromising load paths, I marked the exact locations of all vertical supports and framing on the bottom plywood sheet, ensuring the supports would not interfere during assembly. Because the two plywood layers were separated by only ~8 inches, the lower supports had to be attached before the halves were joined; installing them afterward would have been physically impossible.
After I constructed the wood structure, other members of the tech team stapled chicken wire to the plywood to span the gap between rock layers, and added papier-mâché and paint to create a solid, cohesive surface. Dividing the labor this way allowed me to apply my structural engineering and construction skills to the rest of the set.
I was, and still am, very pleased with how this piece turned out. The structure supported multiple actors throughout the run without requiring any repairs or modifications, and was very visually appealing. This project was a great opportunity to apply engineering principles in a creative environment, and it reinforced how much I enjoy combining technical problem-solving with artistic design.
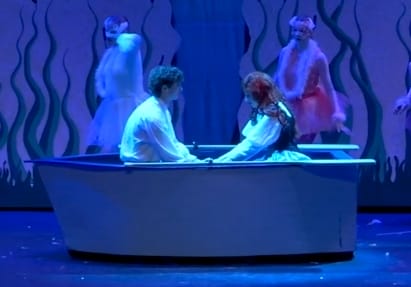
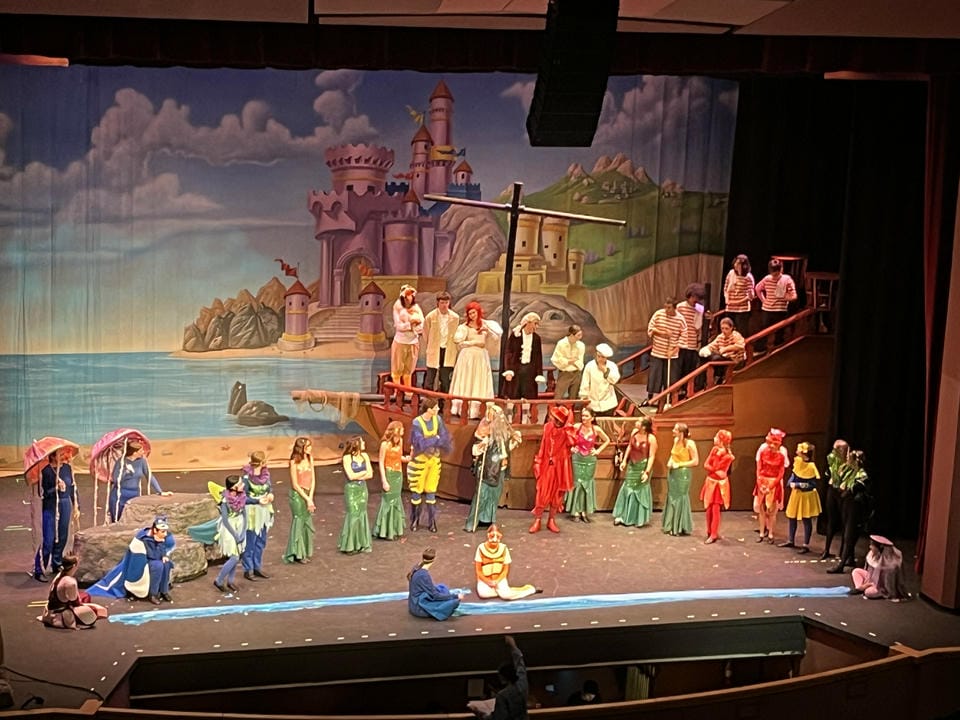
The 'Kiss the Girl' scene required a mobile row boat capable of supporting two actors seated face-to-face while allowing interactive movement and choreography.
The row boat is comprised of a 2x4 wood structure with a 1/2" rough plywood top and bottom rim, wrapped in thin lauan plywood to form a curved hull profile. Caster wheels were installed under the boat, and black fabric was added around the skirt to prevent the audience from peering under the boat. The bottom of the boat is empty, allowing actors inside to push themselves around.
We cut the plywood rims using a jigsaw, then cut 2x4 blocks with mitered ends to create a sloped side to the boat, rather than being perfectly vertical. Once the frame was screwed to the plywood rims, lauan was meticulously cut to conform to the curves of the boat. Because the hull curvature varied along its length, I made multiple iterative jigsaw passes to achieve a precise fit. Once cut, the lauan was screwed to the wood frame, which resulted in some strange looking contours where it flattens to the wood. Fortunately, these contours were not very visible in the show due to stage lighting and proximity to the audience.
The seats were constructed with 1/2" plywood, supported underneath by 2x4s attached to the boat's frame. Because of the attachment location to the boat's frame, the seats were forced to be further apart from each other than is ideal for the actors to interact with each other. This resulted from insufficient early testing of actor spacing, and it reinforced the importance of integrating human interaction considerations into the design process.
Although the boat met all functional requirements, the seat spacing ended up wider than ideal, making close interaction between the actors less natural. This was a valuable lesson in the importance of early ergonomic testing. If I were to rebuild the boat, I would adjust the seat placement to better support the scene's choreography.
The boat was well-received, and the school's ASB even requested to rent it for an underwater-themed dance after the production.